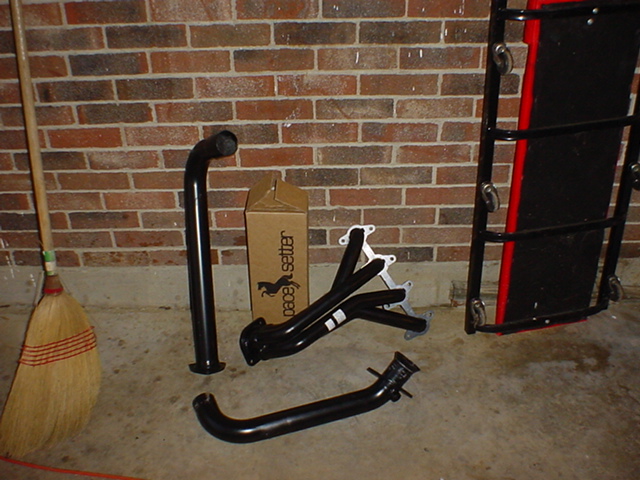
Here is a step by step guide on how to install a Pacesetter header on a 98-99 Cavalier 2200 OHV.
1: Disconnect the negative side of the battery (If the vehicle is equipped with Delco Loc II or Theftlock audio system make sure you have the correct activation code before disconnecting the battery)
2: Engage the parking brake and lift both front tires until you can comfortable slide under the car.
3: Disconnect the exhaust pipe from the catalytic converter and from the old exhaust manifold from underneath the car.
4: Remove the drive belt
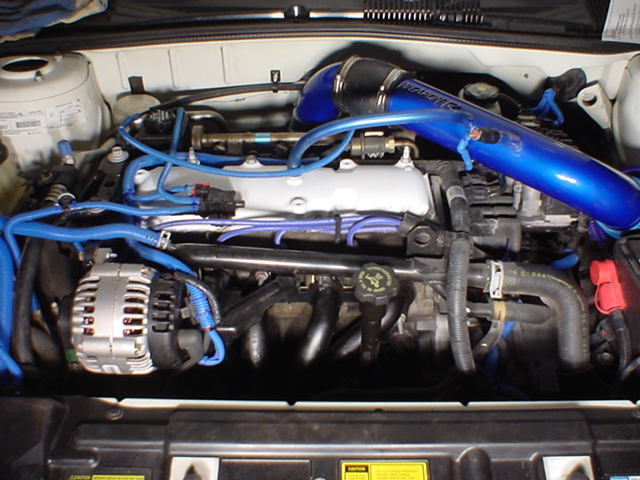
5: Remove the alternator and the alternator bracket
6: unhook the O2 sensor from the wiring harness leaving it in the exhaust manifold.
7: Unbolt the 8 nuts from around the manifold and remove it
8: Drain the radiator
9: Unhook the radiator hose running to the thermostat
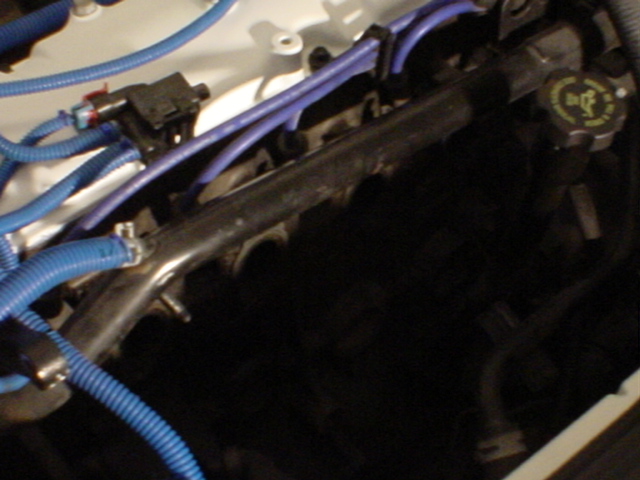
10: Slide the new exhaust gasket onto the studs
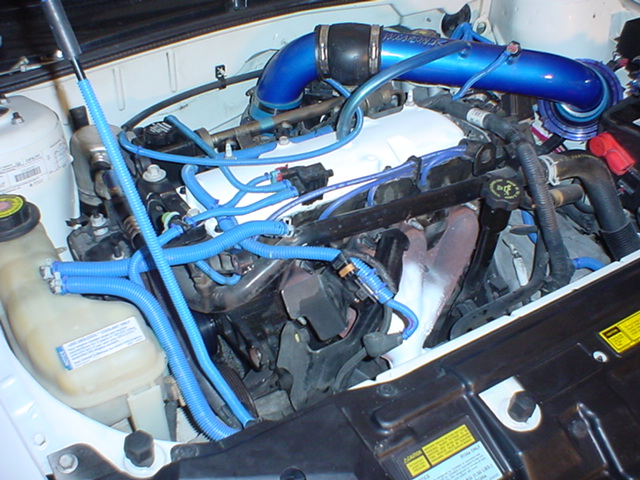
11: slide the header into place and reinstall the nuts torqueing them to inch lbs
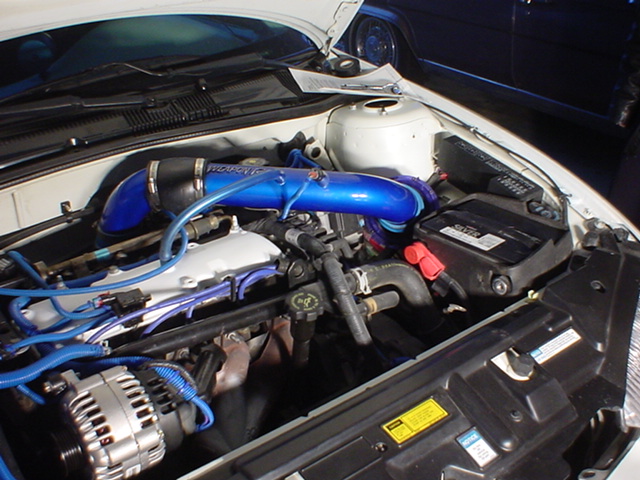
12: Install the alternator bracket and alternator
13: Install the drive belt
14: Remove the 02 sensor from the old exhaust manifold
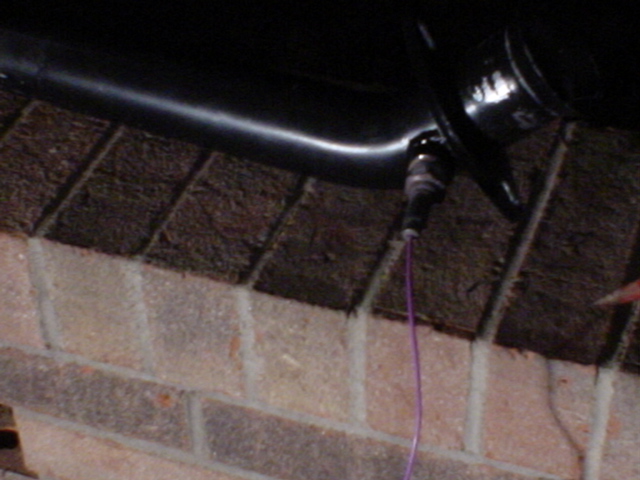
15: Cut the purple wire in the middle of the connector and the 02 sensor
16: using the wire provided with the header attach each end of the wire to the connector and 02 sensor (I recommend soldering the wires together and using shrink wrap to cover the connections) And install it in the exhaust piping
17: connect the pipe to the 2 pipes together and slide the exhaust clamp over them but DO NOT tighten it yet.
18: Bolt the exhaust pipe back to the catalytic converter
19: Bolt the other end to the header (be sure to use the springs provided to ensure a proper seal from the header to the exhaust pipe)
20: Connect the O2 sensor connector back
21: Fill your car with the proper mixture of Coolant/Antifreeze
22: Ensure all bolts are tightened properly and everything is in place
23: Reconnect the battery
24: Start your car and give it time to warm up (smoke will come from the header as the paint will melt off because it is not high temp paint unless it is ceramic coated) once it has warmed up enjoy you new header
Disclaimer: Black Rogue Racing is not responsible for any damages to your car during the installation of the header. All knowledge is correct to the best of the knowledge of Black Rogue Racing. If you do not have any automotive experience you SHOULD NOT attempt this mod but leave it to someone who has some automotive experience. This guide was made to help you along so you dont have to guess around at what to do.